Arborist Tips for a Safe Backyard Treehouse
Planning a backyard treehouse? Learn how arborists choose and prepare a tree for safe building, from limb removal and pruning to long-term structural safety.
Planning a Backyard Treehouse? Start with the Right Tree
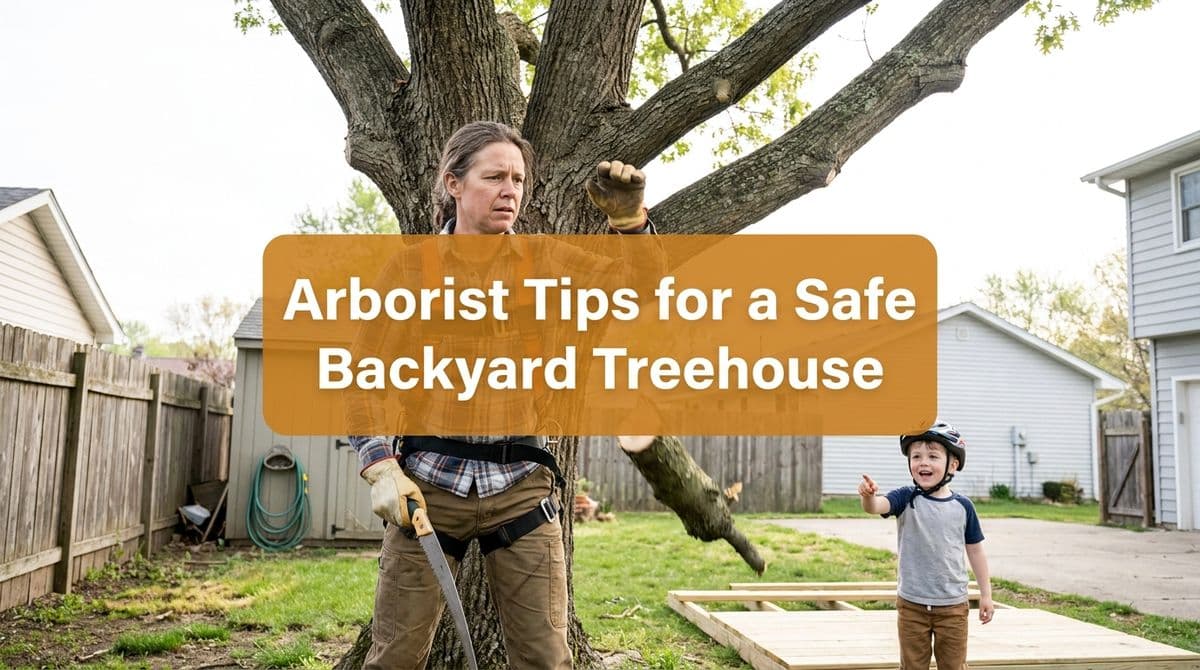
We recently got a call from a homeowner — let's call her Emily — who was excited to build a treehouse for her kids. She’d found what she called “this awesome tree” on a lot behind their house and wanted to know if it was safe to build in. Her biggest concern was the limbs: which ones needed to be removed, and how to make sure the whole setup would be safe for years of climbing, swinging, and playing.
We hear this kind of question a lot. A healthy, well-prepared tree can be an incredible anchor for a backyard treehouse. The wrong tree — or the right tree prepared the wrong way — can turn into a safety hazard.
In this post, I’ll walk through the same things we look at when we come out to a property like Emily’s: how to choose the right tree, what we look for in terms of health, and how we safely remove limbs and prepare the tree for construction.
Step 1: Choosing the Right Tree for a Treehouse
When we met Emily on-site, we started by looking at the whole lot, not just the “favorite” tree. Often there are a couple of candidates, and we want to pick the one that will be both fun and safe.
Here are the main things we consider when selecting a tree for a treehouse:
- Species – We prefer strong, long-lived hardwoods (like oaks, maples) or sturdy conifers, depending on the region. Brittle, fast-growing trees are usually not ideal.
- Trunk diameter – Bigger isn’t always better, but as a rule of thumb, we like to see at least 12–18 inches in diameter at the height where loads will be attached.
- Structure – Multiple strong, well-spaced trunks or main limbs can offer great support points. Trees with narrow “V” crotches or crossing, rubbing limbs are less ideal.
- Location – We check setbacks from property lines, distance from power lines, house, fences, and access for future maintenance.
With Emily, we walked around the tree looking up from several angles. We talked about where she imagined the treehouse platform, where the ladder might go, and how the kids would approach it from the yard. Thinking about use and access early helps us decide whether that “awesome tree” really is the best choice.
Step 2: Checking Tree Health and Hidden Problems
Emily’s main question was, “Can you just look at it and make sure it looks safe?” The truth is, we’re looking for more than what’s obvious at first glance. Tree health is foundational: a treehouse should never be used to “mask” or work around a compromised tree.
Here’s what we inspect before we give the green light:
- Trunk and root flare – We look for cavities, cracks, mushrooms or conks (signs of internal decay), and heavy bark damage. At the base, we want to see a visible root flare, not a trunk that looks like a telephone pole stuck in the ground.
- Leaning and movement – Some natural lean is fine if it’s long-term and balanced. A fresh lean, soil heaving on one side, or exposed roots can be red flags.
- Crown condition – Dead branches in the upper canopy, thinning foliage, or dieback at the tips can signal stress or disease.
- Pests and disease – Borer damage, cankers, oozing sap, or peeling bark all tell us how the tree is doing on the inside.
If we spot serious structural issues or advanced decay, our advice is straightforward: do not build a treehouse in that tree. In those cases, we’ll help pick a different tree or suggest a ground-supported play structure near the tree instead.
Step 3: Planning Safe Limb Removal Around the Future Treehouse
Emily also asked about “limbing it up” — removing some branches so the treehouse would fit and feel open and safe for kids. That’s where careful pruning comes in.
When we prepare a tree for a treehouse, we focus on:
- Removing dead and hazardous limbs first – Anything dead, cracked, or with obvious decay comes out. These are the branches most likely to fail under weight, wind, or snow.
- Creating clearance for the structure – We selectively remove or shorten live branches where the platform, walls, or roof will be. The goal is to create space while preserving as much healthy canopy as possible.
- Maintaining balance – We don’t want to over-prune one side and leave the tree lopsided. A balanced canopy is better for the tree and looks more natural.
We also talked with Emily about the future: swings, zip lines, rope ladders. It’s smart to plan those early, so we remove or shorten any branches that might rub or snag kids as they play, while still keeping shade and character.
Step 4: Pruning Technique That Protects Tree Health
One thing I always stress to homeowners is that how you cut matters as much as what you cut. A clean, proper pruning cut heals far better and keeps the tree strong over time.
Here are the basic principles we follow:
- Use the branch collar – We cut just outside the swollen area where the branch meets the trunk (the collar). Cutting flush with the trunk or leaving long stubs both cause problems.
- Three-cut method for larger limbs – To avoid tearing bark, we undercut first, then make a top cut farther out, and finally clean up with a final cut at the collar.
- No topping – We never just “lop the top off” to make space. Topping creates weak regrowth and long-term hazards.
- Limit how much you remove – On a healthy tree, we try not to remove more than about 20–25% of the live crown in one pruning cycle.
This is why we generally don’t recommend DIY limb removal around a future treehouse, especially for bigger branches or anything over a structure or fence. Professional gear, rigging, and experience really matter here.
Step 5: Thinking About Treehouse Loads and Long-Term Safety
While we’re not the ones designing the treehouse itself, we help clients like Emily think about how the structure will interact with the tree over time.
Some key points we usually discuss with homeowners and their builders:
- Allow for movement – Trees sway. Your attachment system must let the tree move without prying the structure apart or crushing the trunk.
- Concentrated loads – We help identify stronger attachment points along the trunk or major limbs and avoid weak, narrow crotches.
- Future growth – Trees get bigger. Bolts, platforms, and beams must be installed with growth and bark thickening in mind.
- Regular inspections – We recommend a professional check every few years, or sooner after major storms, to reassess tree health and the surrounding limbs.
For Emily, our plan was to prune the tree in a way that set her builder up for success: clear, safe attachment zones, good access from the yard, and a canopy that would keep the tree healthy and the kids shaded.
When to Call an Arborist Before You Build
If you’re dreaming up a backyard treehouse, the best first step is exactly what Emily did: ask an arborist to take a look before you buy materials or draw final plans.
We can:
- Evaluate which tree on your property is the safest candidate
- Identify any hidden hazards, decay, or structural issues
- Safely remove or prune limbs to create the right clearances
- Coordinate with your builder on safe attachment zones
A little planning and proper tree care up front not only makes the treehouse safer, it also protects the tree so it can keep holding memories — and kids — for many years to come.